
2020
While restoring the inlet manifolds last year, some of the Bakelite spacers for the fuel injectors were found to be cracked and a few of them had been repaired with epoxy. These spacers are no longer available from Mercedes-Benz, so a local supplier was found who could re-manufacture these with CNC machines from Balekite sheet, and these were finally delivered early in the new year.


The windscreen wiper motor had never been connected to the wiper mechanism since the manual pedal box was installed a few years ago and the next thing to be attended to was to connect the wiper system. However, once everything was connected, the arm on the wiper motor was stopping up against the pedal box. Clearly the manual pedal box with a clutch pedal was wider than the original automatic pedal box, but I wasn't sure what to do about it. I thought that maybe a pedal box from a W109 3.5 might work, but I couldn't think it would be any narrower than the one I had. I was left with no option but to remove the pedal box and modify it, and this meant the booster and everything had to come out again.....

Once the pedal box was out, the bump stop had to be cut off because it would have to be re-positioned. The clutch pedal pivot was then cut down to bring it closer to the pedal box, but it also needed to be ground away at the top to allow the wiper motor arm past it.
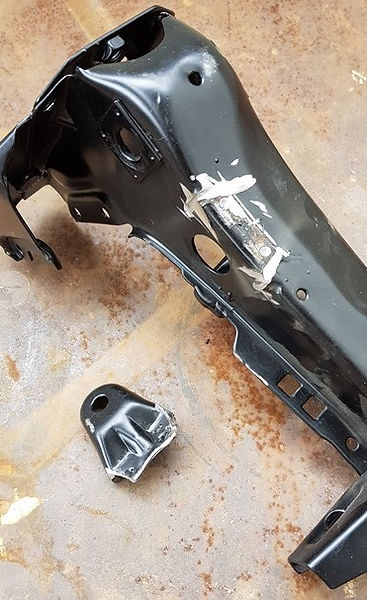


The pedal box was reassembled and refitted, then taken out again and disassembled numerous times to get to the point where eventually the wiper arm cleared the pedal box.

The clutch pedal was now in the correct position, but the pivot for the spring on the clutch pedal was way off centre. The pedal needed to be cut and a right-angled spacer welded in so that the pivot lined up with the spring. Once this was completed, everything was sent for powder coating and reassembled.
During the pedal box modification, work continued on the assembly of the engine. The damper and pulley were painted and the timing marks were highlighted.

To do the compression ratio calculation, a measured amount of liquid was poured into the combustion chamber to determine its volume.
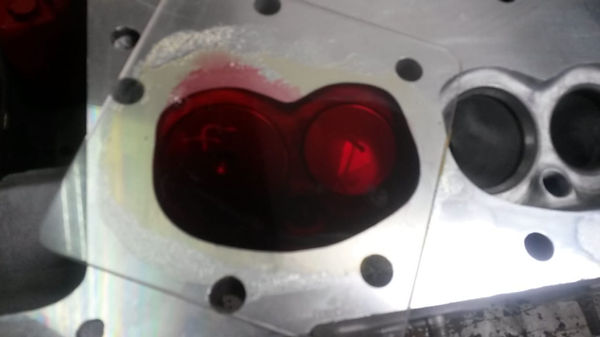
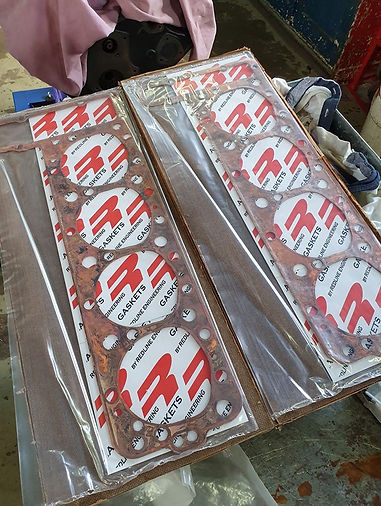
The bespoke copper cylinder head gaskets arrived from the supplier, but during the compression ratio calculation, they were found to be too thick at 2mm. Thinner gaskets of 1mm were ordered.

The rear crankshaft rope seal was inserted into the engine block and with great care and patience, the crankshaft was fitted and slowly rotated and tightened to bed in the seal. Once bedded in and torqued down, it was found that the pistons were slightly lower then the face of the block at TDC. Everything has had to be disassembled again so that the block could be skimmed and re-assembled.
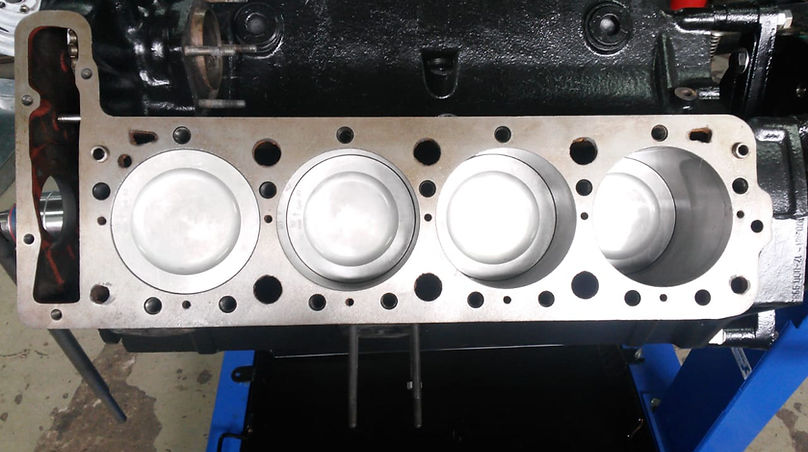
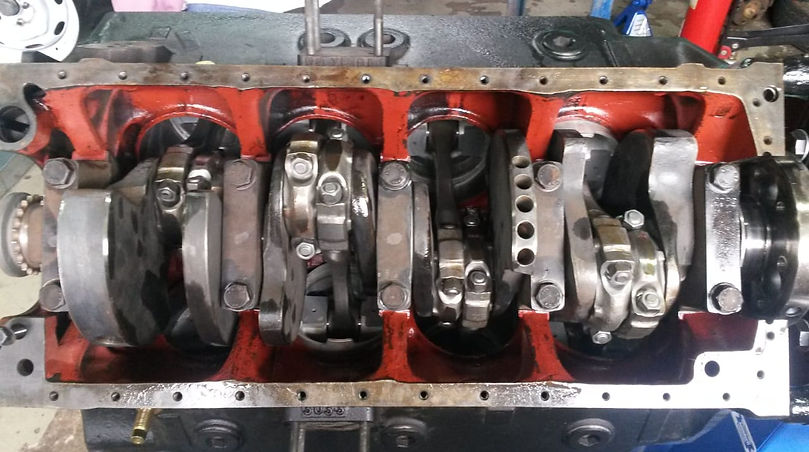
The conrods on this engine are big and heavy, but strong.

While the engine assembly was taking place, the plumbing for the concentric slave cylinder was tackled. The hole in the bellhousing to accommodate the original slave cylinder was enlarged to take the two hydraulic hoses that connected into the concentric slave cylinder. A bracket was made to secure the two hoses on the outside of the gearbox so that the slave cylinder could be bled. The hoses in the photos below were changed over before the gearbox was installed so that the bleeder hose is at the top.


I discovered a new tool to be able to twist the securing wire on the drain and filler plugs of the gearbox - this is a racing regulation to ensure the drain and filler plugs on the engine and drive train do not come loose. I welded lugs onto the gearbox filler and drain plugs and wired them in place.


In September a new garage door was required, so the car needed to be mobile to get it out of the way to install the new door. This was the first time the car had been back on it's wheels since before it was stripped down for paint in January 2018. It was great to be able to stand back from a distance and see the car in context.


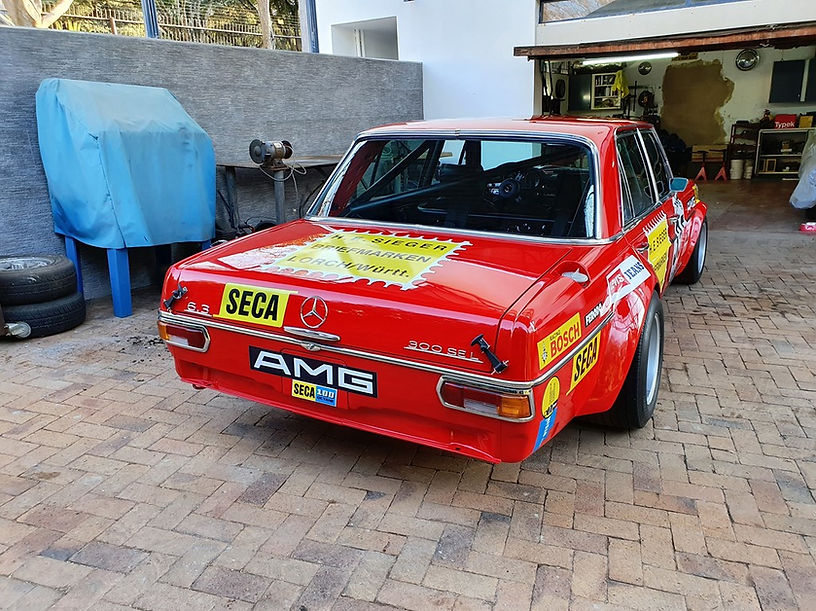
The spot light covers were made from vinyl and printed with the period Bosch logo. High density foam pads have been glued into the covers to protect the glass from stones.

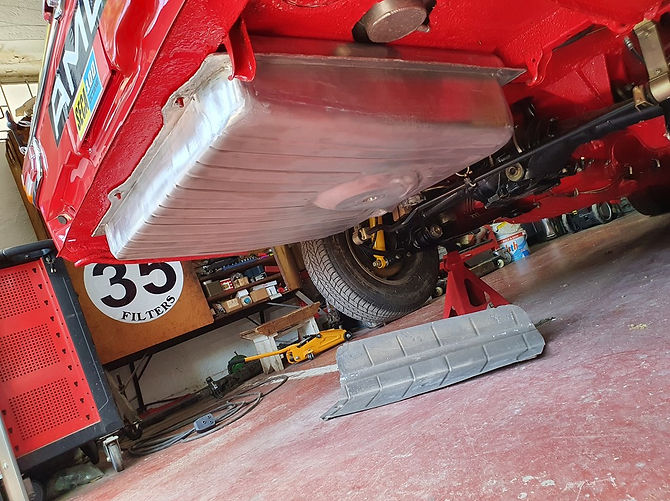
The original steel fuel tank on this car is heavy and I wanted to fit an aluminium tank, but wanted the design of the of the original tank replicated.

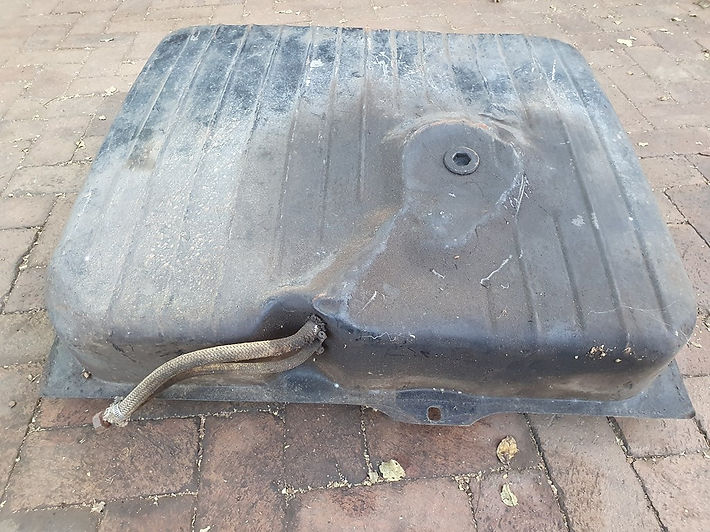
I found a master craftsman near Cape Town who was prepared to take on this project and he produced superb work and delivered a beautiful fuel tank. The weight saving between the old steel tank and the new aluminium tank was 7.5kg.


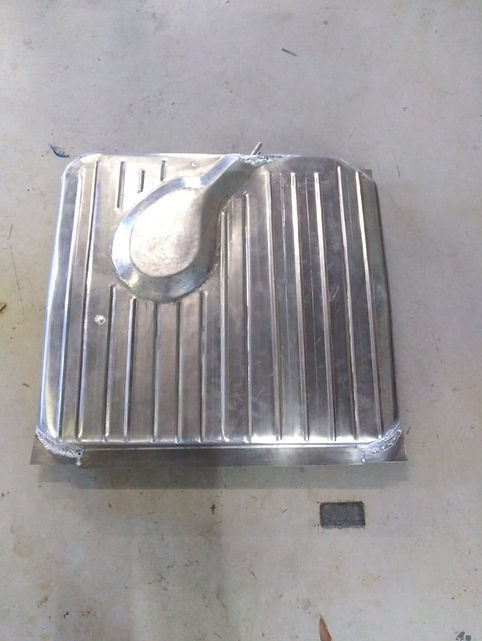
The new tank fitted perfectly in place. The place for the breather and connection to the auxiliary tank has been marked and the tank has been sent away to get these things done.


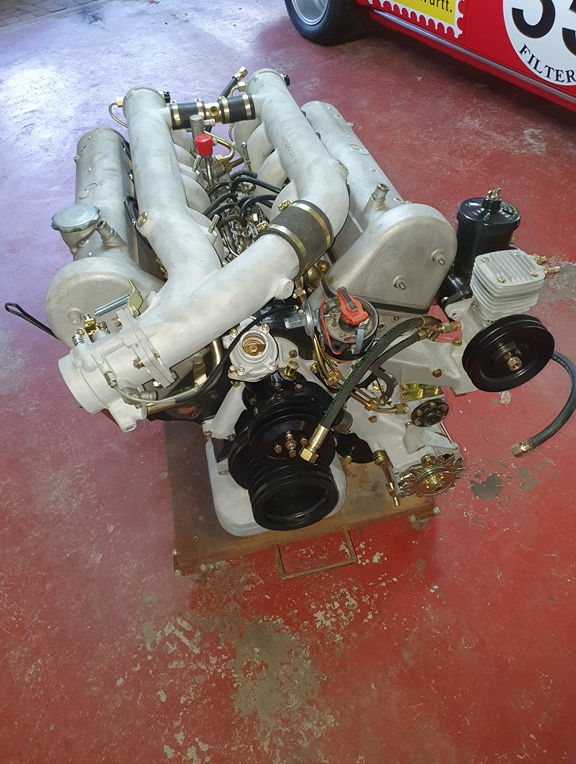
The engine arrived back at the beginning of November and work began with the assembly of all the ancillaries. This is a summary of the engine modifications:
- Engine block has been bored out to 6.8 liters with new pistons.
- Engine block and cylinder heads have been skimmed to increase the compression ratio.
- All internal moving parts, damper, flywheel and clutch assembly have been balanced.
- Crankshaft main bearings have been braced.
- Larger inlet valves have been fitted, with lighter exhaust valves.
- Cylinder head inlet and exhaust ports have been polished.
- Camshaft has been re-profiled for extra lift and duration.


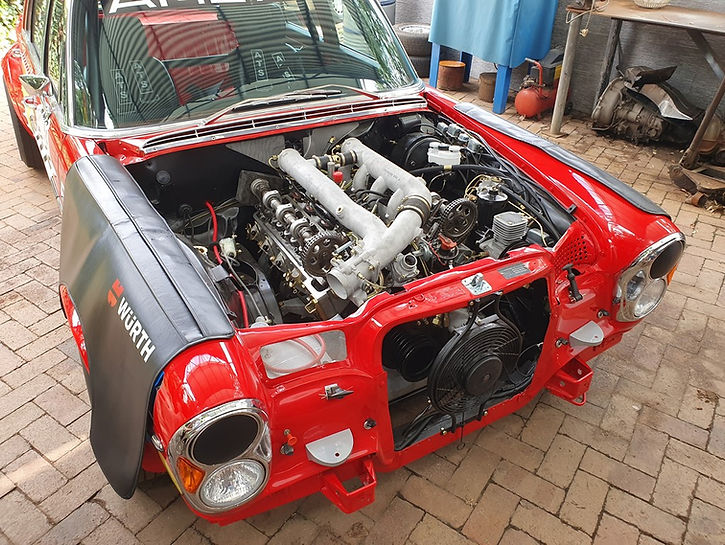
After a couple of weekends work, the engine was assembled and fitted. Care was taken to line the engine bay with cardboard to protect the paint.

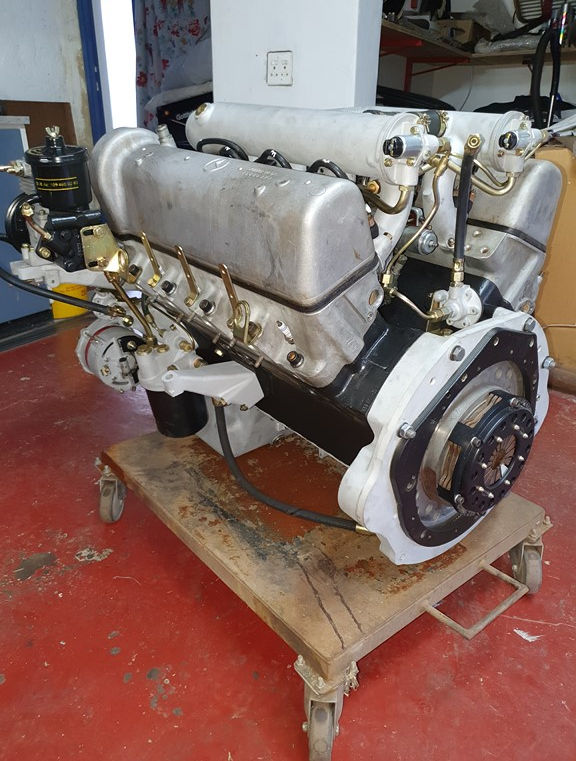


The multiplate clutch pack needed to be properly aligned to fit the gearbox, and an input shaft was found from another gearbox to do the job. The bolts securing the clutch pack together were slackened off, the shaft inserted and then the bolts tightened. The gearbox went in with minimal effort.


The tappet covers were sent away for vapour blasting and came back looking superb. You can see the difference in finish between the vapour blasted covers and the bead blasted inlet manifolds.


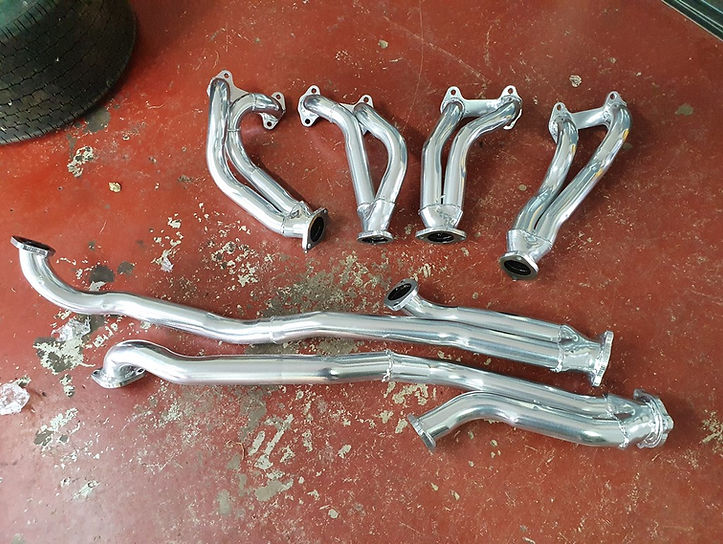
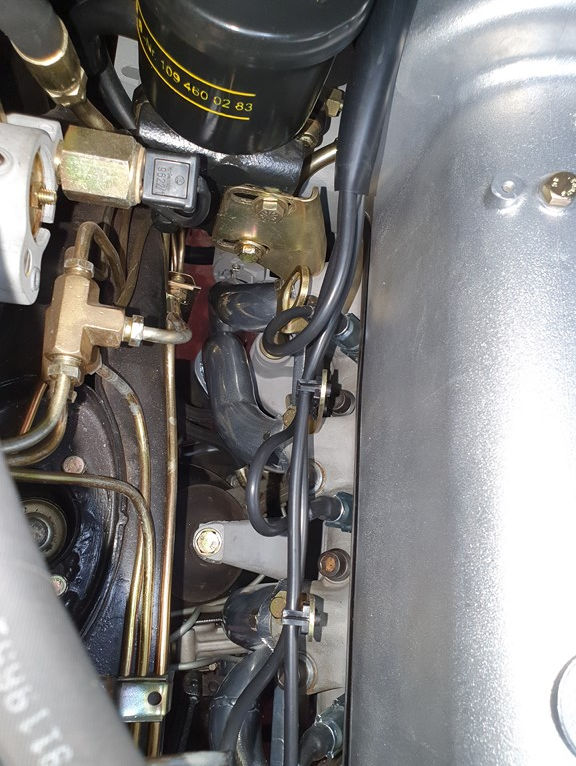
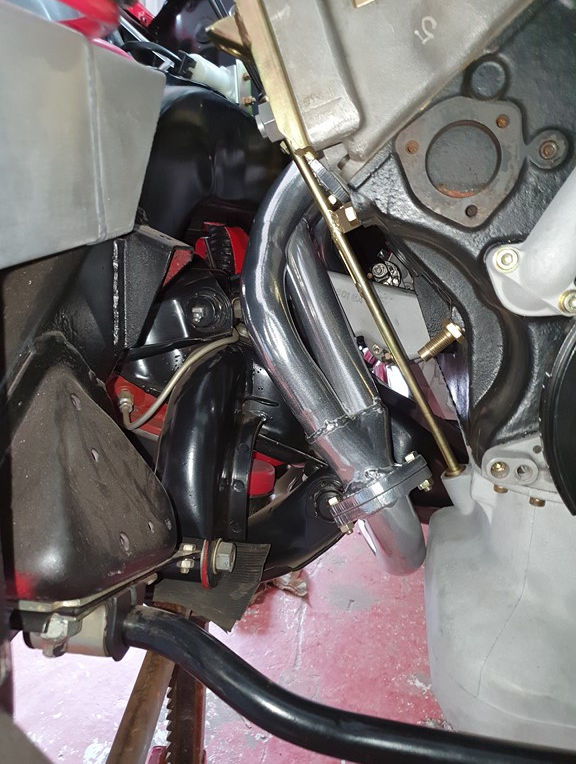
The exhaust manifolds were ceramic plated a number of years ago and it was great to finally unwrap them and fit them back in place. It was a difficult job and the left rear manifold needed the engine mounting bracket almost removed and the engine jacked up on the left. At the same time, the oil filter housing drain plug and securing bolt were drilled and wired in place.



Something that has bugged me from the start has been the wheel rims. The rims on my car are standard 14" Penta rims that have been widened and stepped up to 15" and even though they look the part, they're not right.
These are the rims on my car:

And these are the correct rims:

I have wanted to get the rims right for a long time and a few months ago I found a local specialist in aluminium rims who is currently making me what I want. These are the final computer renderings before production starts:


