2015
The diff was stripped down, cleaned and prepared for painting. The two diff halves were split as a new pivot mounting needed to be fitted. The individual parts were sprayed in primer and then in a 2K black paint, which was made to match the black powder coated finish on some of the components. The trailing arms, anti-roll bar and other parts were powder coated.


The paint supplier matched the red colour for the bellow chambers, and these were painted. Once thoroughly dry, the units were re-assembled with new bellows and seals for the connections, and installed in place.


All the nuts, bolts and washers were zinc plated, so assembly of the diff could begin.
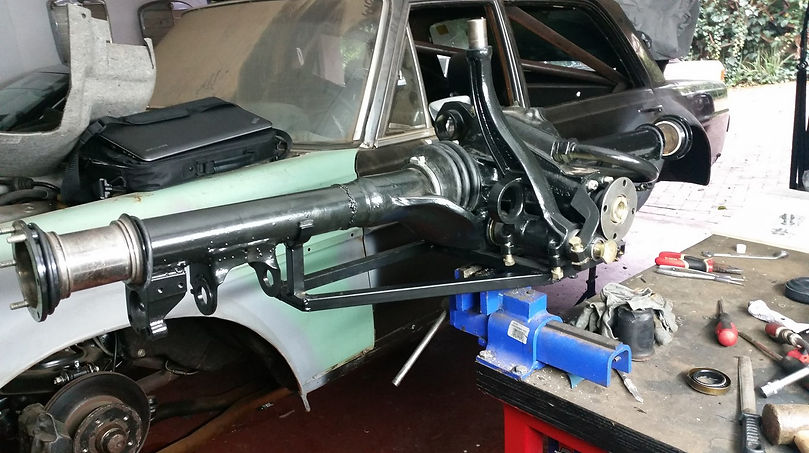
The two halves were reassembled with a new rubber boot and pivot mounting, along with new O-ring seals at the pivot joins – the cradle made earlier to support the diff made the refitment of the diff infinitely easier.
_edited.jpg)
The anti-dive brake mechanism was then tackled with new felts seals. New nylon bushes were used with the old shims, which were cleaned up. Once the tolerances were measured, the caps were replaced with new O-ring seals.

_edited.jpg)

The rear brake callipers were overhauled at a brake specialist, but not painted – these were gun-coated, a baking process that is brake fluid resistant and offers better scratch and chip resistance than powder coating. The callipers were stripped again to get this done and reassembled once they were returned from being coated.


_edited.jpg)
The drive shafts were cleaned, and new seals were fitted to the drive shaft housings. New outer seals were fitted to the backing plates, which had been powder coated, and these were re-assembled onto the drive shafts with new bearings, washers and lock nuts. A special tool was made to fasten the slotted nuts to the required 200Nm.

The drive shafts were inserted without too much fuss and new hand brake shoes fitted.
_edited.jpg)
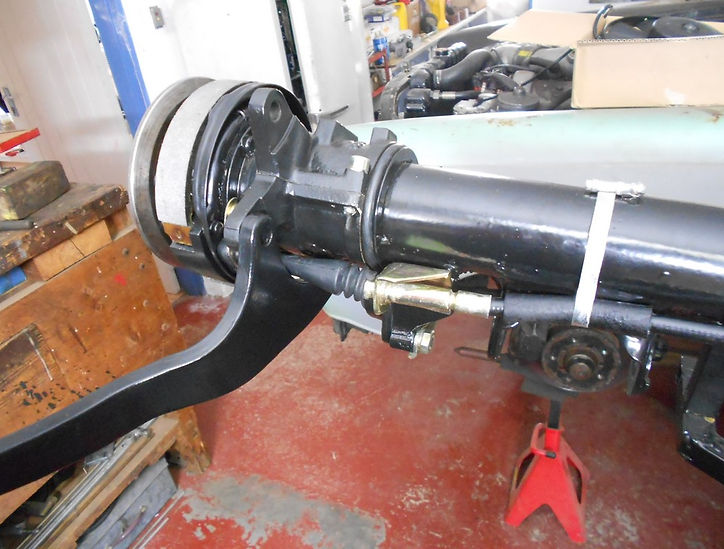
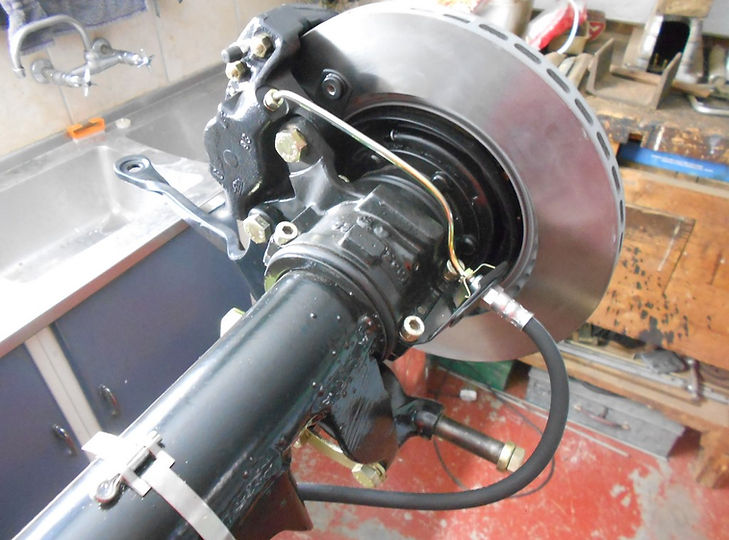
New discs were fitted along with the callipers, steel brake pipes and new rubber hoses.

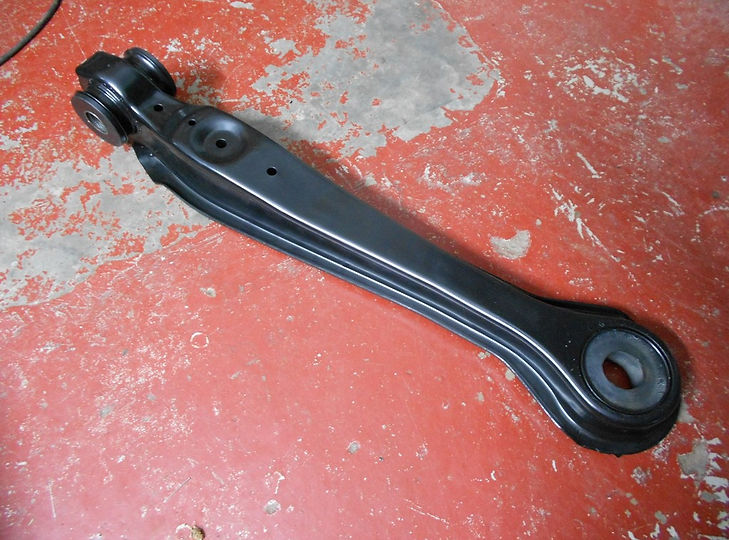
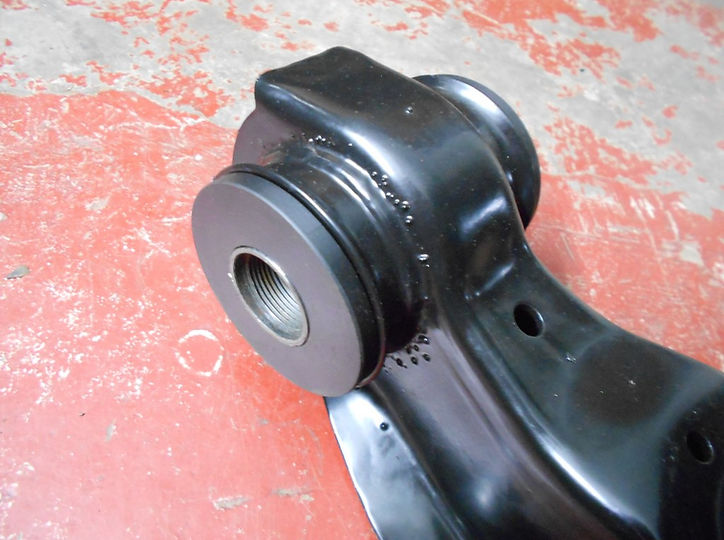
The trailing arms were powder coated and the rubber bushes were replaced with nylon bushes for rigidity, but the original threaded inserts were retained. The trailing arms would be fitted once the diff was in the car, as the diff cradle obstructed the mounting nuts for the trailing arms.
_edited.jpg)
_edited.jpg)
Everything went together easily, except that the right-hand side trailing arm did not want to line up with the mounting point. It was about 25mm off and the nylon bushes that were fitted were so ridged that there was no lateral movement at all.
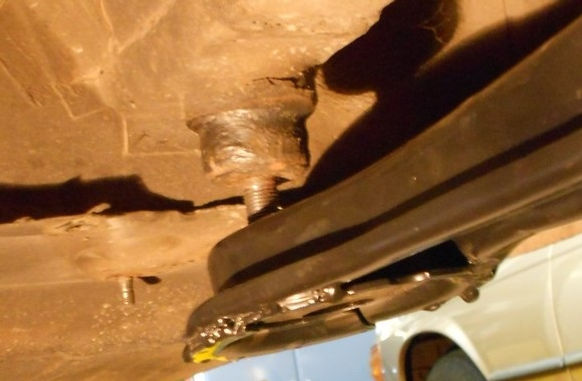
It was decided to take the trailing arms off, bin the nylon bushes and fit new rubber bushes.
With everything in place and secure, the car was dropped off its stands and started. It took some time for the air suspension system to get charged and some minor adjustments were required on the lever of the rear anti-roll bar to get the rear suspension to its correct height.
The next morning the car was test driven for the first time to make sure all gears worked, and for the first time in two years the car was fully mobile.
Unmute the video below by tapping on the video and then tapping on the music note in the bottom right corner

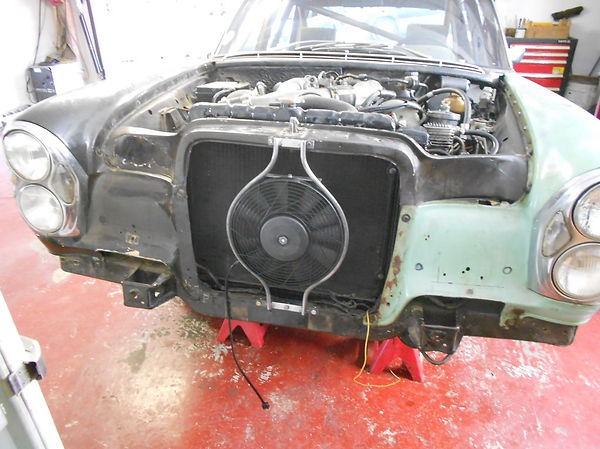
The next priority was to make the mounting frame for the electric coolant fan. Some basic measurements were taken and drawn out on the work bench. The fan was placed in position on the table and then two lengths of 12mm solid round bar were bent into shape, which would be the main struts.

The struts were tacked together with 20x3mm flat cross bars and then fitted to the car step-by-step to check that everything fitted properly.
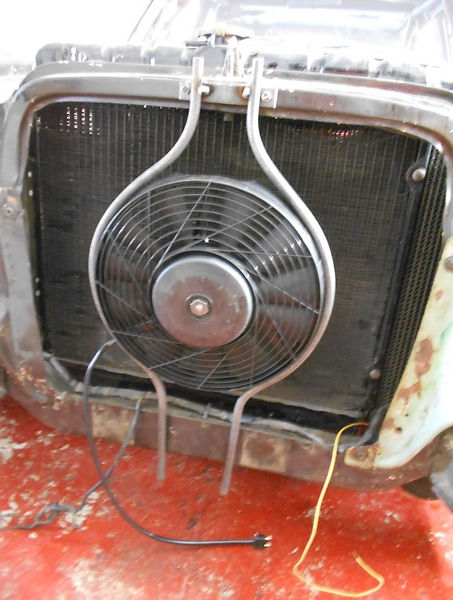
Once everything had been tacked and checked, the frame was welded up, finished off and sent for powder coating.

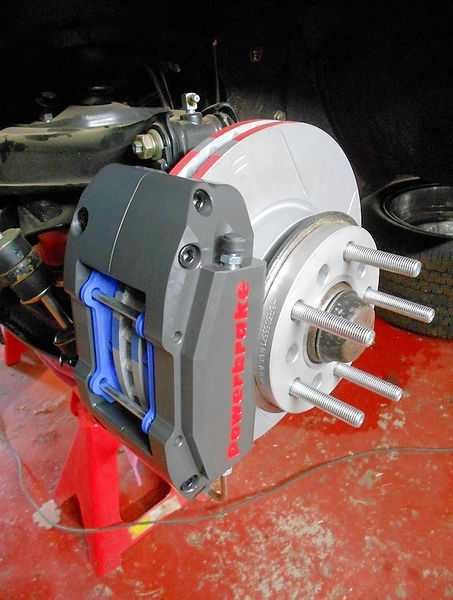
The new front brake system arrived from Powerbrake, who did a fantastic job. Their biggest challenge was to come up with a bespoke solution to be able to fit the callipers and discs within the confines of the 14" rims. What they delivered would certainly stop this heavy car and it looked beautiful. The callipers came from their vast inventory, but the discs, which are significantly bigger and thicker than the originals, were modified for this car and the calliper mounting brackets were specially made with its own part number lasered into the surface of the bracket.


The brake upgrade was tackled by removing the front hubs from the car and then swapping the old standard discs with the new ones.


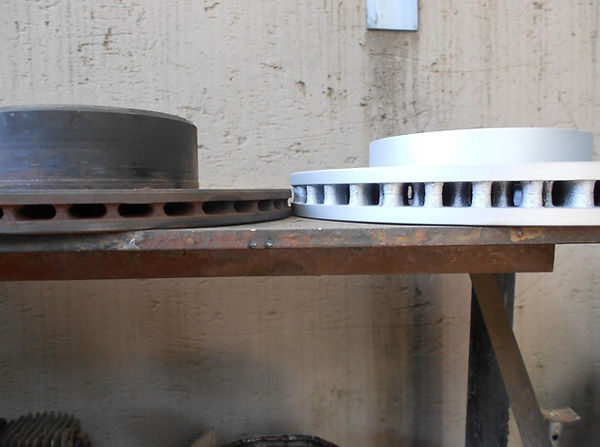
The new discs are very different from the originals. Apart from the heights and the thickness of the discs being different, the new ones are also about 10mm larger in diameter.

The callipers bolted into the standard holes using the adapter brackets.

The different colours of paint on the discs are temperature sensitive and would change once the care is tested (there was a whole run-in procedure), which indicates what temperatures would be reached.
_edited.jpg)
_edited.jpg)
Spacers of 15mm were required on the front hubs to ensure that the rims didn’t touch the callipers, and a set was sourced from the local H&R agents. The centres needed to be slightly machined to fit over the bearing dust caps.
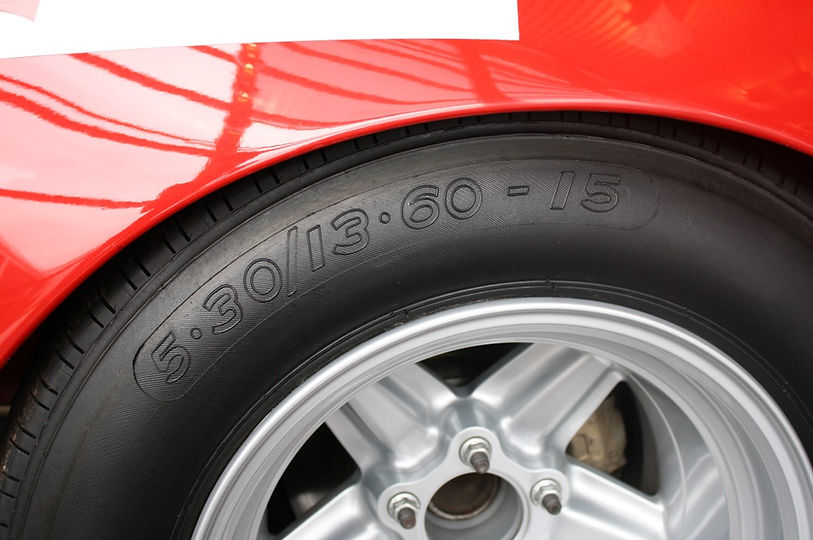
The wheels spacers resulted in the original wheel bolts being too short, so a change was made to wheel studs and nuts. The AMG car also has wheel bolts and studs, as can be seen in the picture below.
The wheel studs turned into the hubs easily enough with a 6mm Allen key socket, although they needed some power because of the Locktite type coating on the threads. The spacers fitted on easily and everything came together.
_edited.jpg)
_edited.jpg)

To cool the brakes, slots were cut out of the front of the fenders, as per photos found on the internet. The solution would be to direct the air up the chassis legs and then make an outlet on the chassis leg inside the fender onto which an air duct could be attached. An air scoop would have to be made to direct the air up the chassis leg.


Routing the duct pipe to the calliper was not that simple because of the space constraints, so it was decided to route the ducting under the top of the fender to the back and then down to the disc.
Lengths of 63mm flexible ducting were sourced locally from ATS Motorsport and then mounting brackets were made to secure them in place.


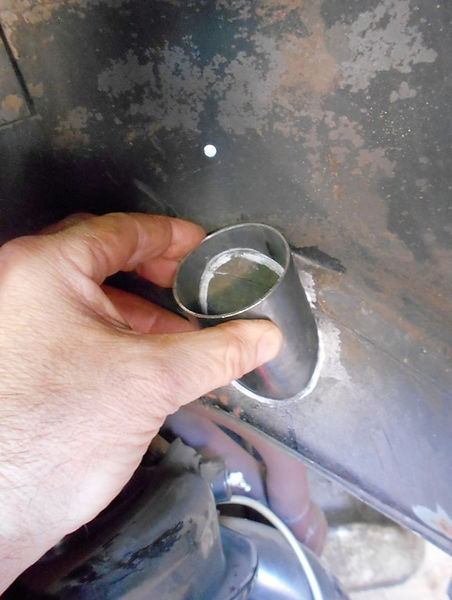
The position of the air outlet on the chassis leg was determined, and a cardboard mock-up was made to check the proportions and spacing. The cardboard mock-up was then used to mark a piece of 63mm steel tube which was cut into shape.


The position of the outlet pipe was marked on the chassis leg and a hole was made by drilling small holes and chiselling the centre out. The edges of the hole were cleaned up with a die grinder and then the outlet pipe was welded into place.
_edited.jpg)
_edited.jpg)
_edited.jpg)

The routing of the ducting pipe started at the back of the disc, which was secured to the top wishbone with a cable tie. It was then secured to the inside of the fender with a bracket, all the time putting the wheel on, turning it from lock to lock to check clearance, and then taking it off again. This procedure was followed until the duct was completely routed and fastened into place.
_edited.jpg)
_edited.jpg)
The mounting bracket to secure the air duct onto the front hub was then made. The brake calliper and disc were removed, and a bracket was fashioned from 8mm round bar and a piece of 63mm tube. The bracket fitted into the mounting holes of the original backing plate. The 6mm mounting nuts welded to the bracket serve as both a securing device and as a spacer to space the bracket as close as possible to the disc.
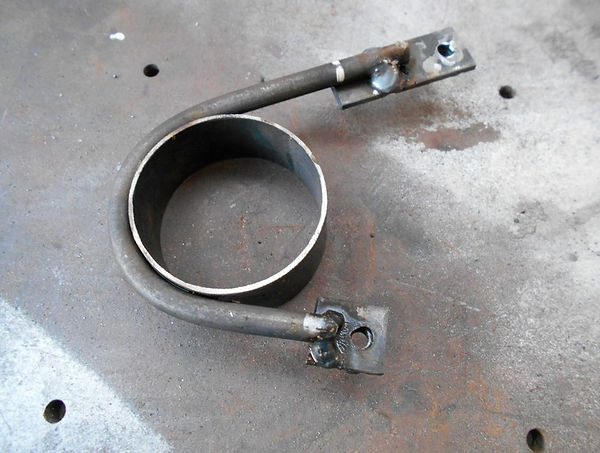

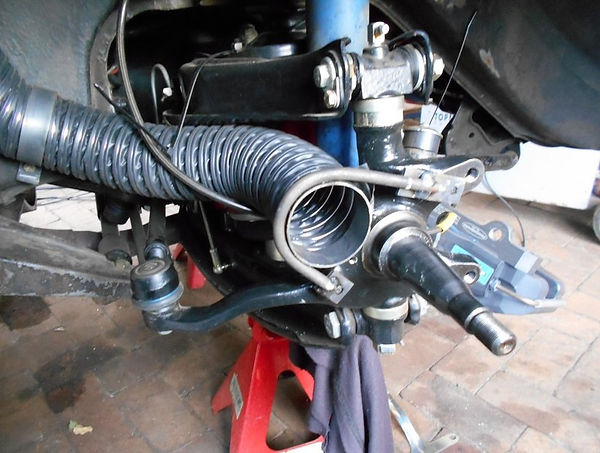
Finally the cable tie was replaced with a bracket mounted to the top wish bone of the suspension.


To make the scoops to direct the air up the chassis legs, a mock-up was once again made from cardboard. Once installed and satisfied that everything fitted, an outline was drawn onto a sheet of steel, cut out and then bent into shape.


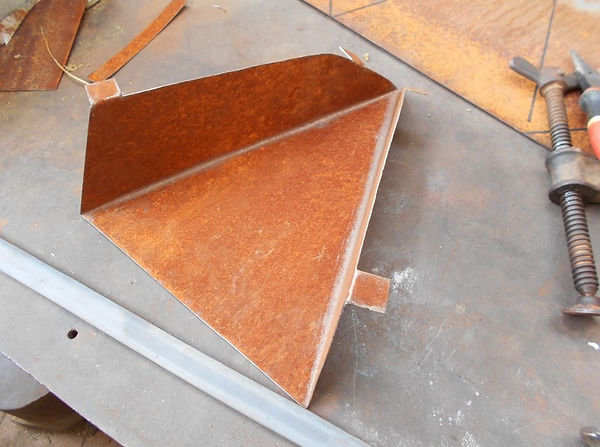
Another plate was cut out a piece of sheet, which was tacked into place on the side of the chassis leg. This was to cover the gap between the radiator and the chassis leg.
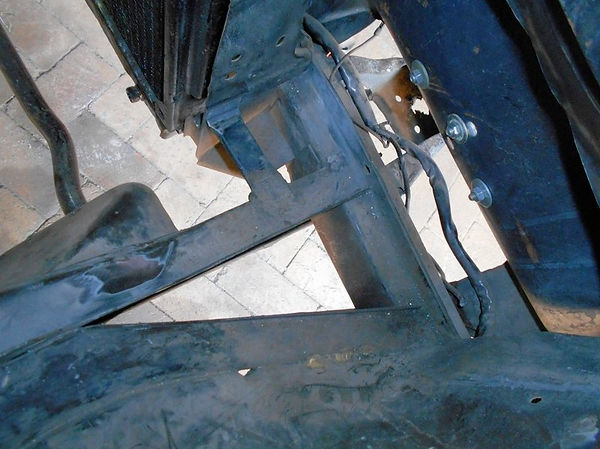

The scoop was fitted in place only to be find that it half covered the holes drilled for the nuts and bolts that secure the spotlight bracket to the front valance, so the scoop was duly modified.


The gap at the bottom of the chassis leg needed to be covered as well, so another plate was made and tacked into place.


Fitting the left side scoop was trickier because of the space constraints. There was a mounting plate behind the cut-out on the left valance which needed to be removed but couldn’t be accessed with a grinder. Therefore the fender was removed, which gives a better idea of the routing of the brake duct pipe.
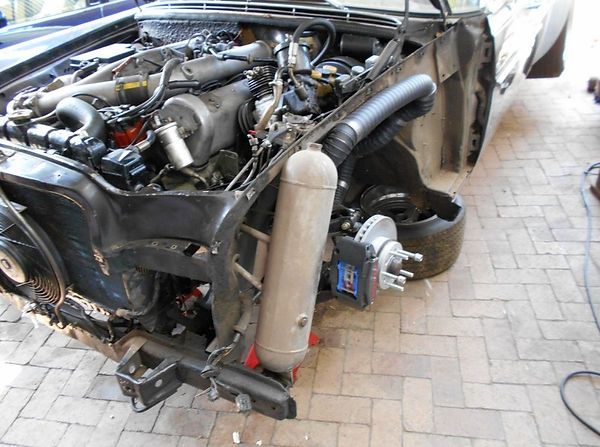
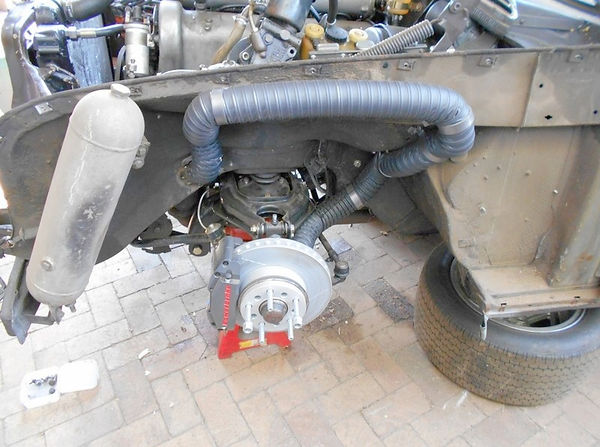
To be able to fit the left side air scoop, the air compressor and power steering pump assembly, fuel filter and alcohol jar had to be removed. With the air scoop fitted, it was necessary to move the fuel filter somewhere else, as there wasn’t enough space for both the scoop and fuel filter. The alcohol jar went back into place without any problems.
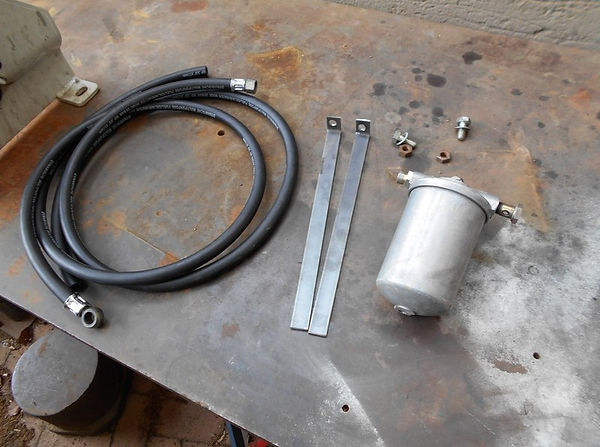
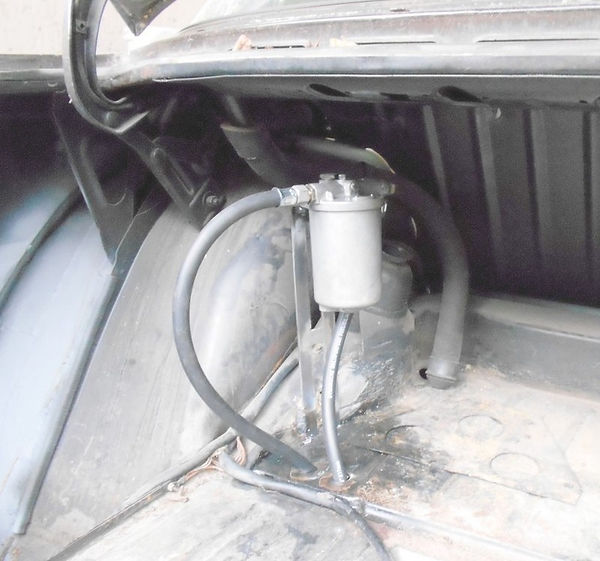
It was decided to mount the fuel filter in the boot, so a bracket was made and fitted along with longer fuel pipes, and the system was plumbed in.
